P-171: Oculus Rift/Virtual Reality Demo Part 2: Mixamo Fuse animation, modelling, and T3D Integration
by PhoenixGames on Jun.10, 2016, under Art and Designs, Software and Games, Tutorials
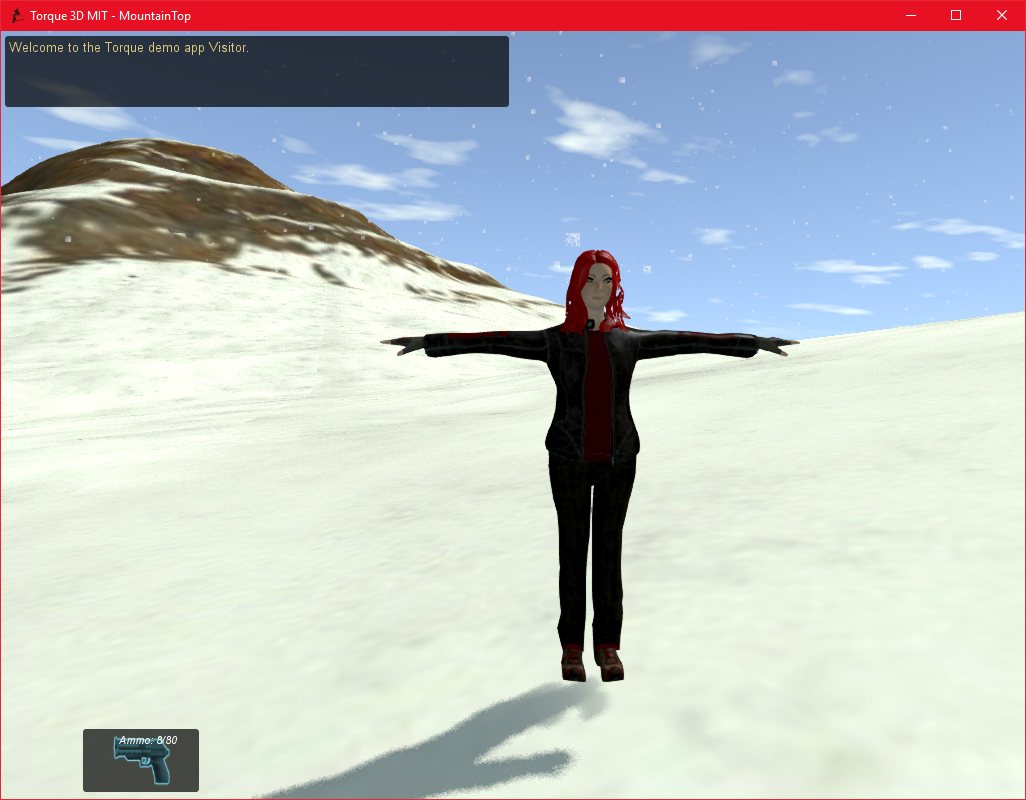
Creating a Model in either the Steam edition or the Adobe Creative Cloud edition of Mixamo Fuse Character Creator is very simple.
To get this character, and it’s animations, into T3D, is also, thankfully, simple.
First, the model must be uploaded to the Mixamo website. From here, an animation pack can be easily created from the large database of animations.
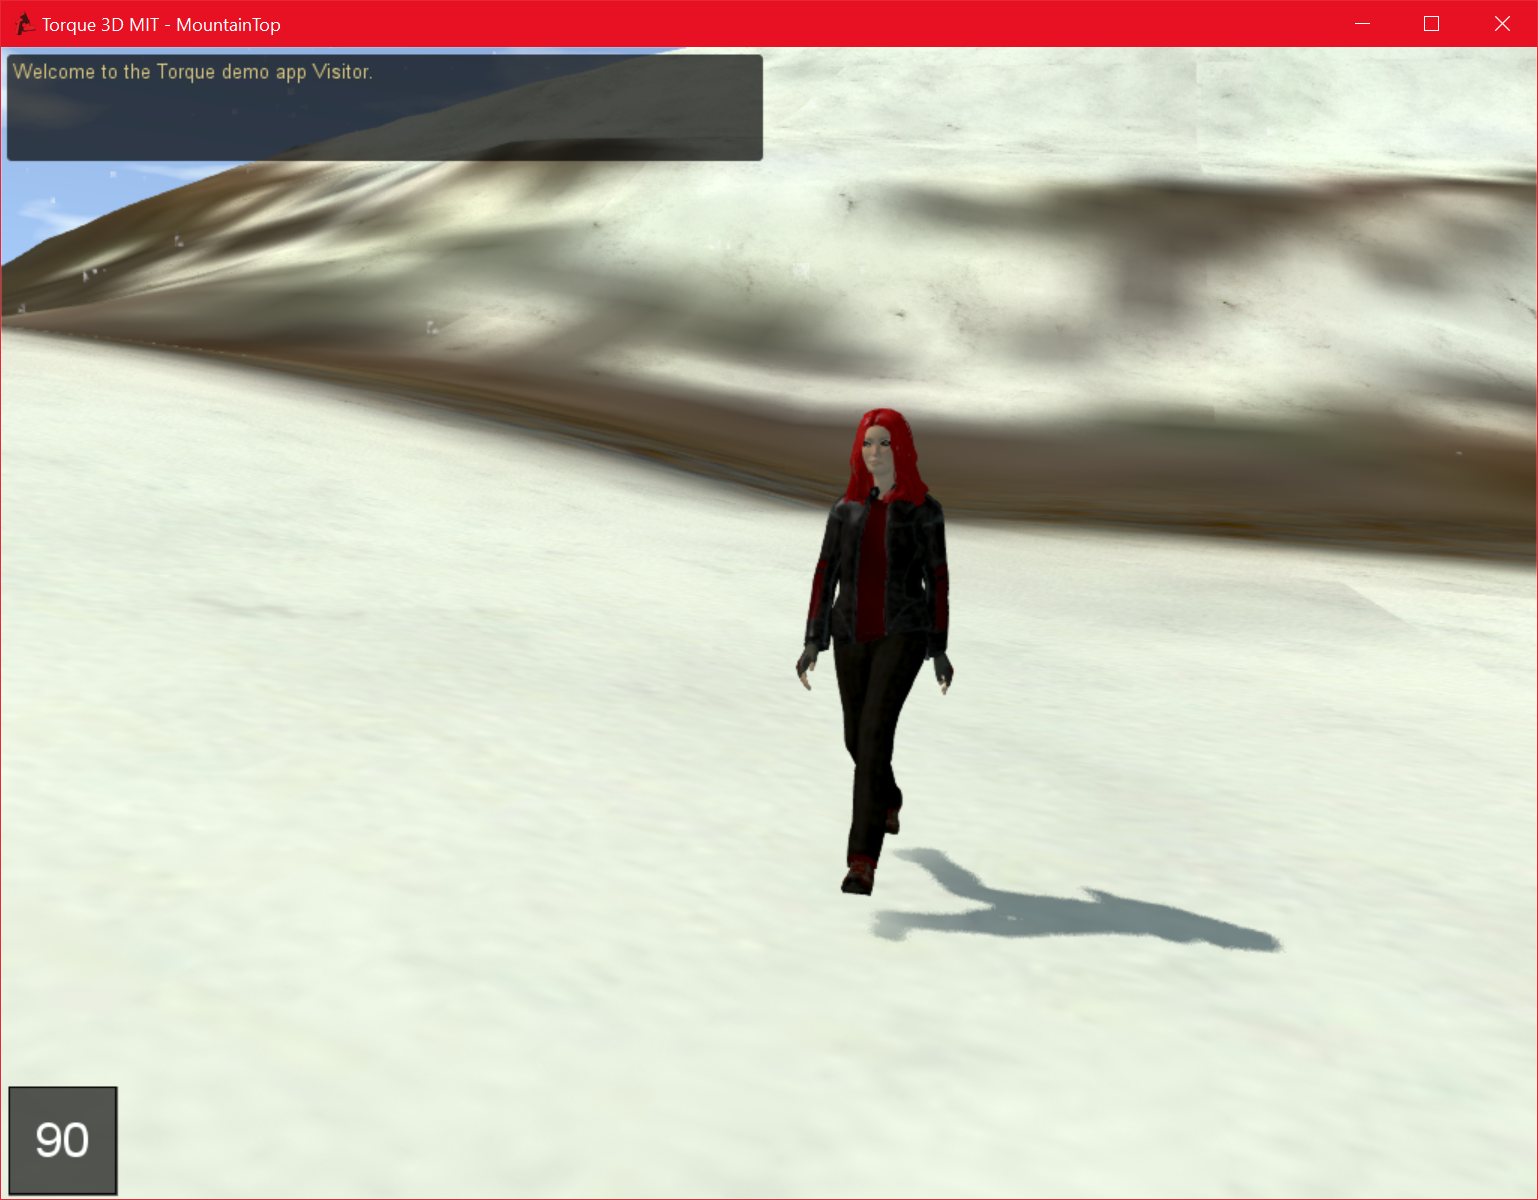
There are a few things to bear in mind here. Firstly, the “in place” checkbox should be ticked for all animations, particularly walking, running, and other animations where the character is moving in the world. If this is not done, the characters movement in the world will not sync up with their movement in the animation, and this will look horrible. The “In place” check just makes them run, walk, or jump on the spot, so all movement in the world is handled by the games engine.
Secondly, it is important to include animations that have a smooth transition. For example, an animation that has the character sitting on a chair but doesn’t animate them actually sitting down from a standing position, is going to look bad when it suddenly transitions from standing to sitting with nothing in between.
Once the animation pack has been created, it can be “queued for download” and then downloaded.
The download pack contains the base mesh as one file, and the individual animations themselves as separate files in the directory. For mixamo fuse models, the textures are also located in a folder called “textures”. This directory can be copied anywhere into T3D’s folder structure.
Setting up the model in T3D is very simple. I have been using the shape editor gui, but this could be done from script as well, in the characters on::Load() function.
First, using the world editor, load the characters base mesh into T3D, and give the material a name. Then, in the shape editor, if necessary, point T3D to the folder where the textures are stored. This will need to be done for each material, if the materials don’t show up automatically.
To add the animations, click on the “seq” (sequence) tab, and then click on the “new” icon (between the save and delete buttons). From here, the sequence can be named, and by clicking on “source” and then “browse” it is possible to select one of the animations provided in the Mixamo download. Simply repeat this for any other animations, bearing in mind that some animations require the use of particular names to work properly, such as “run”, “walk”, “idle”, etc.

MountainTop_DEBUG
10/06/2016 , 01:50:31 AM
Torque 3D MIT – MountainTop

MountainTop_DEBUG
10/06/2016 , 01:43:48 AM
Torque 3D MIT – MountainTop

MountainTop_DEBUG
10/06/2016 , 01:44:23 AM
Torque 3D MIT – MountainTop
![chrome 07/06/2016 , 06:18:52 AM Mixamo - Google Chrome [SCM]actwin,1908,542,1921,1041;](http://phoenixgamedevelopment.com/blog/wp-content/uploads/2016/06/PhoenixGameDevelopment-07_06_2016-06_18_52-AM.jpg)
chrome
07/06/2016 , 06:18:52 AM
Mixamo – Google Chrome
[SCM]actwin,1908,542,1921,1041;
MountainTop_DEBUG
07/06/2016 , 06:02:01 AM
Torque 3D MIT – MountainTop
MountainTop_DEBUG
07/06/2016 , 06:18:47 AM
Torque 3D MIT – MountainTop