P-166: New Computer Build: December 2015: Part 4: Building
by PhoenixGames on Dec.27, 2015, under Inventions, Tutorials
I have completed my new system build, with the exception of installing the hard disk/s and the Operating System, software, etc. This is a short account of the build.
In general, it was very fast and simple, with just one minor problem which I will mention below. The parts I chose were all correct, and were recognised correctly by the BIOS screen once the build was complete.
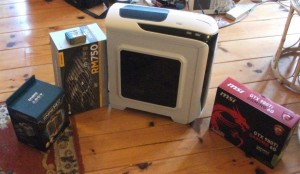
Some of the main parts of the system, from left to right: CPU Cooler, CPU, Power supply, case, graphics card.
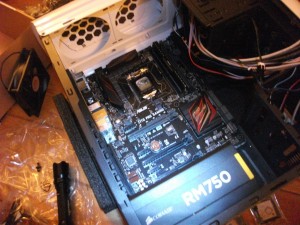
I decided to install the power supply and the mother board in the case first. This would normally be ok, but I made one slight over sight, which I will come to.
After some research, I decided to mount the powersupply facing up, with the fan facing into the case, even though my case has an exhaust port at the bottom, just under the power supply. This was because modern power supplies are designed to draw air in using the fan, and extract it out of the case through the rear. This means that having the fan facing up will help to extract warm air from the case. Since my graphics cards fans are directly over the power supply, this should mean that the warm air from the graphics cards and other components are more easily extracted out of the case. In addition, this will protect the power supply from sucking up dust from the floor beneath the case, which would cause problems for it. My power supply also has a very large fan, (which I chose in order to keep the system as quiet as possible without compromising cooling efficiency) and the exhaust port is designed for a smaller fan. This means if I mounted the power supply face down, it would block a large part of the fan, which could cause dangerous overheating issues.
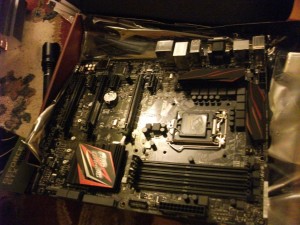
The motherboard. Generally, the CPU cooler should be attached to the CPU BEFORE the motherboard in installed in the case. With small stock coolers, it is usually fairly simple to install the cooler even when it is in the case, however, my Zalman CNPS14X Cooler is much bigger than a normal cooler, and I foolishly forgot to install this before the motherboard was in the case. I hadn’t installed the CPU yet, so I could have just taken out the motherboard and installed the CPU and cooler outside the case, but luckily I was able to take the top of the case off and make just enough room to install the Cooler properly without having to remove the board.
This was the only minor problem in the build.
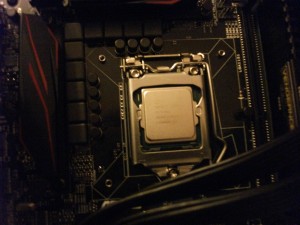
The CPU installed.
Assembling and installing the Zalman cooler was difficult, even without my added mistake of installing the motherboard in the case first. However, it will be much more efficient, and much quieter, than a stock cooler, so it will be worth it.
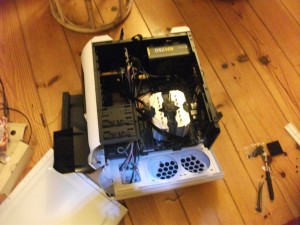
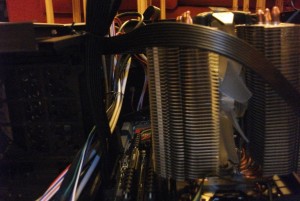
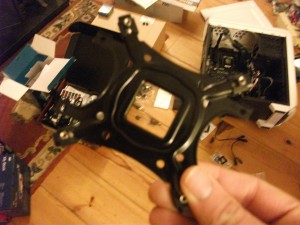
This shows the limited amount of room I had to work with. I had to install and tighten 4 bolts to the cooler from inside the case. In my defence, this may have had to be done anyway, since the bolts had to pass through the back panel of my computer case.
The cooler, finally, installed.

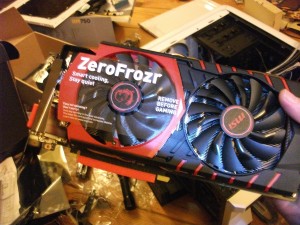
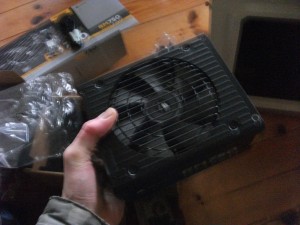
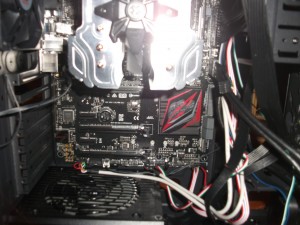
The most important component, the graphics card! This is an MSI GTX 980Ti with 6 GB’s of RAM. I was worried about fitting the graphics card into the case, especially with the added size of the huge Zalman cooler (I didn’t realise it was so big when I bought it), especially since my new case is a standard ATX case like my old one, and I had issues with fitting my old graphics card in. Luckily, I had measured properly, and, after rearranging some cabling, the card fitted in perfectly.
The reason, incidentally, why my old card had such trouble fitting, even though the case is the same size, is that my old case had a fan mounted in the side panel, and this protrudes into the case right where the power cables plug into the graphics card. My new case has all its fans mounted in the front or the back, not the side, so this wasn’t an issue. I would recommend not buying cases with side mounted fans if using an oversize graphics card, for this reason.

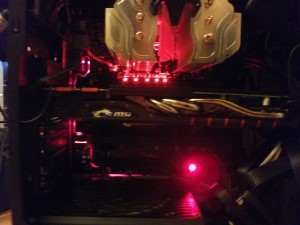
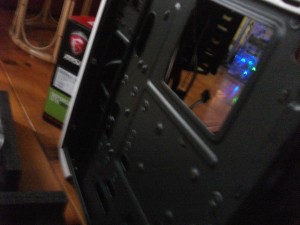
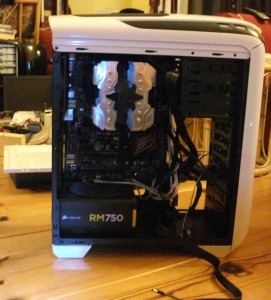
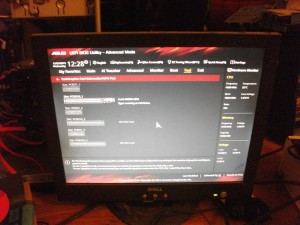
The system up and running! The red lights are on the mother board, and I believe they can be customised and changed by an Asus control panel, I haven’t looked into this yet. The blue lights are case lights.
The system is incredibly quiet, it is actually quieter than my laptop, it is difficult to tell that it is even on! My goal of reducing the noise of the system was a complete success. Of course, the system was running on idle, which means the power supply and graphics card card weren’t on. Under load, it will produce more noise, but even so, it will be much quieter than my current system.
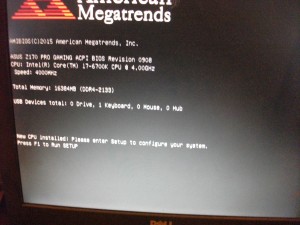
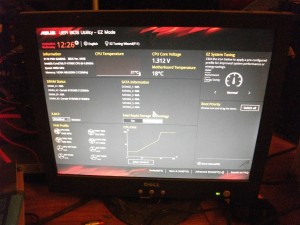
Successful POST and BIOS access. All components installed correctly and ready for action. I now just need to wait until my hard disk gets here and I can install the OS and my software.