This week I implemented a hacking minigame to allow the player to access server computers and open doors. It is essentially a login screen which the player can hack using a “fake” hacking tool, which will decrypt the password. This takes time, and the password will change every time is it interrupted. The length of the password can vary based on difficulty.
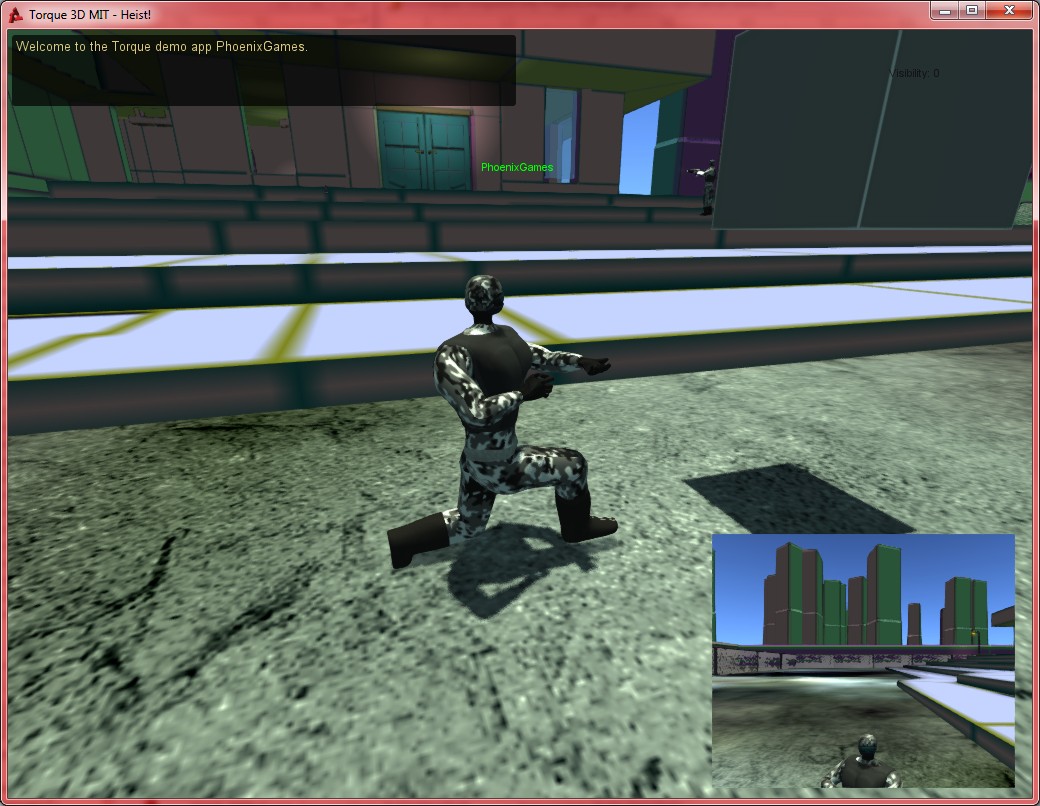
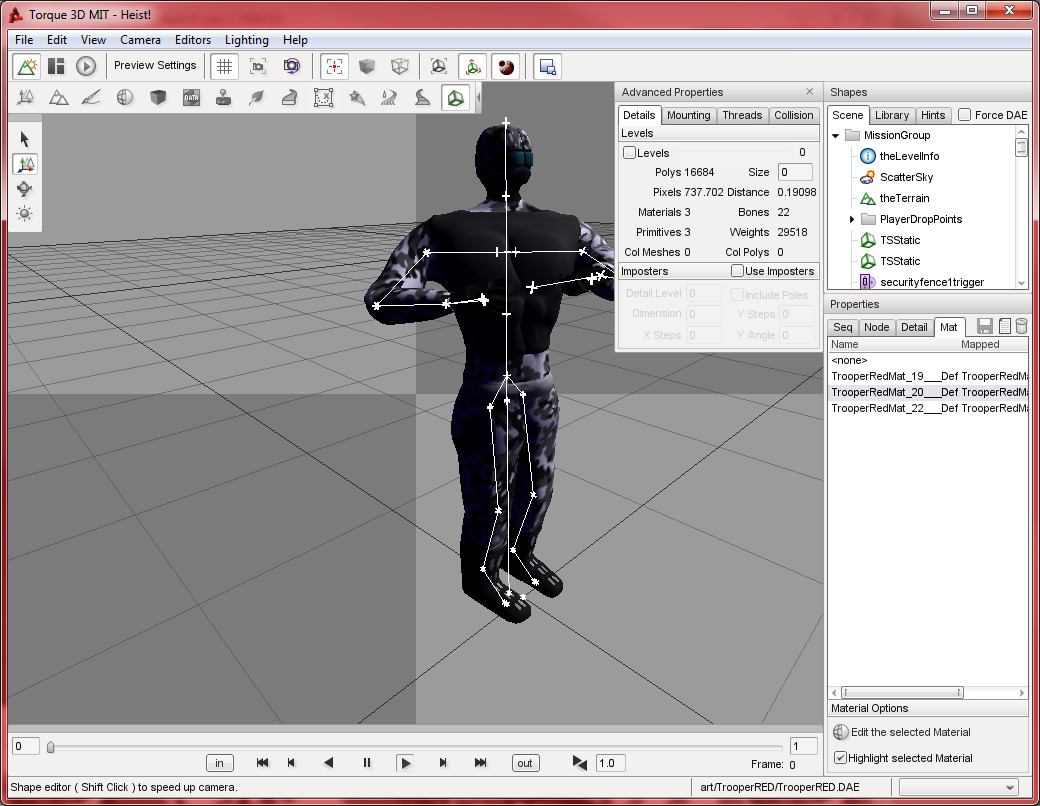
I also implemented climbing and crouching, which took some time. T3D does not have a build in system for ladders, so I had to manually create one. I also added support for crouching to my models, this is neccessary for the players to enter air vents (for example). It is now possible for players to climb a ladder, crouch on the ladder, and enter an air vent. This is a standard feature neccessary for this project.
I have been creating and testing 3D Models for the purposes of 3D printing for some time now. One of the problems that I have discovered is in testing the model before sending it to the printer. I have had several orders cancelled (and refunded) due to issues. Most of these issues were due to a mesh having holes, multiple shells, or insufficient wall thickness. The problem is that most conventional modelling tools (such as 3DS Max, for example) do not have the tools neccessary to test a model designed for 3D printing.
I am currently using two tools for this purpose, one is “Mini Magics 3.0” and the other is “3D-Tool” Mini Magics is free, and is actually developed by iMaterialise, the 3D printing company that I use for my 3D prints. It is a very easy to use program, that scans for holes and multiple shells, however, it does not check for minimum wall thickness, which is, in my opinion, a vital feature. This is particularly true for people like myself, who model in 3DS Max, as Max does not have an easy way (that I have found at least) to specify or examine dimensions.
3D-Tool has a pro version, but I have been using the free version only, and so far, it seems superior to Mini Magics. This is largely due to the inclusion of a very powerful edge thickness tool. The user can easily specify the minimum thickness that they are working with (which will vary depend on the material) in addition to a number of other features.
The pictures below are from 3D-tool, and show the wall thickness tool in operation. This is a model that was rejected by the printers, and this tool easily shows why. The blue colour on the edge of the star at the center of the model are below the minimum thickness of 3mm. The extrusions at the head of the model are also below 3mm.
I have got most of the coding done for this project, and I am ready to start the art and gui’s, as well as the final level design.
I have added a Remote Camera to the players inventory. This is an camera object which can be thrown a reasonable distance. When it lands, the player can view the camera feed directly on their HUD, and control the camera rotation as well as their own movement. The player can also hack into security cameras using the hacking tool and view their video feed.
The Inventory system is done as well, the player will have access to at least 7 different tools in the initial (concept) release. In future, there will be a complex inventory selection screen, where the player will have a limited number of slots to store equipment, and they will have to choose between different items to customise their loadout for the strategy they intend to use for this particular level.
Edit:
A short video of the remote camera in action is available below:
This week I finally found a solution for the trigger issue I was having. I am now using raycasts between nodes embedded in my models to determine collision. This works very well with laser fences and laser triggers, and does not seem to cause any noticable performance hit. I basically include two dummy nodes in the model, “raystartpos” and “rayendpos” and raycast between them if the player is close by. If the rays hit the player, then the player has been detected. This is very precise, and allows me to place laser fences and beams without having to create a separate trigger for each one, which also saves a lot of level editing time.
I also implemented a very useful resource which allows me to create a remote camera. The resource (located HERE) is basically a gui object that can render a scene from the point of view of any object. I intend to use it to allow the player to hack into security cameras, as well as provide a camera that can be throw by the player to spot enemy movements and security systems without being seen.
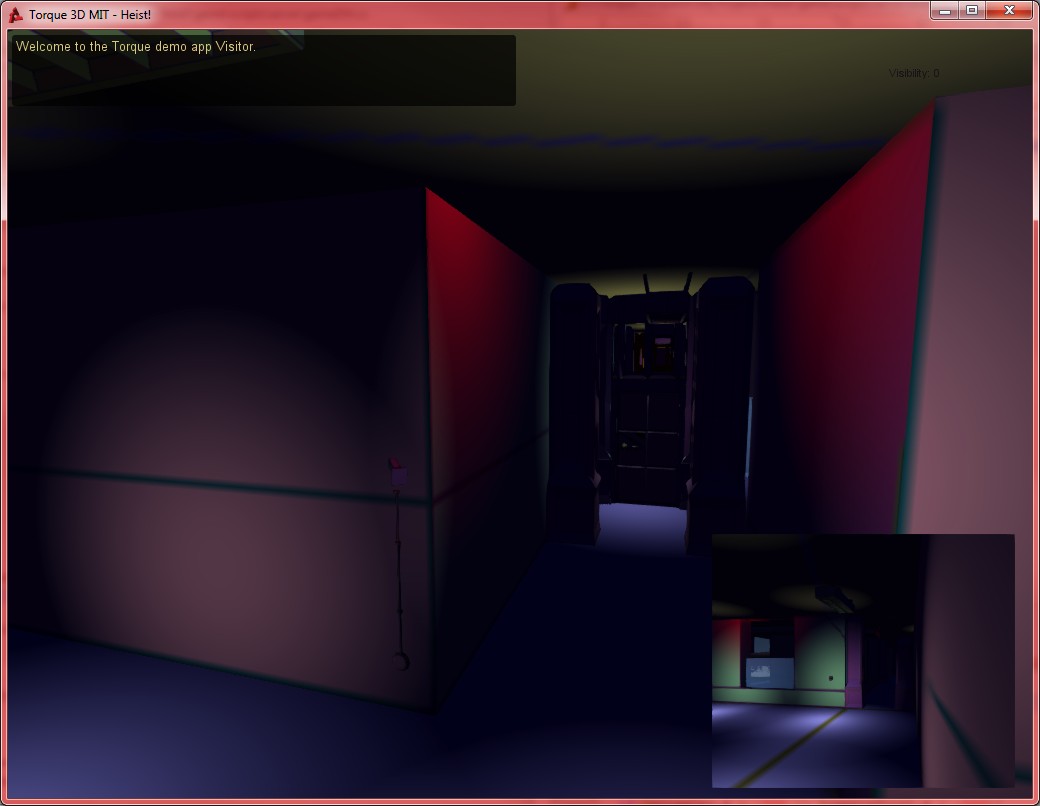
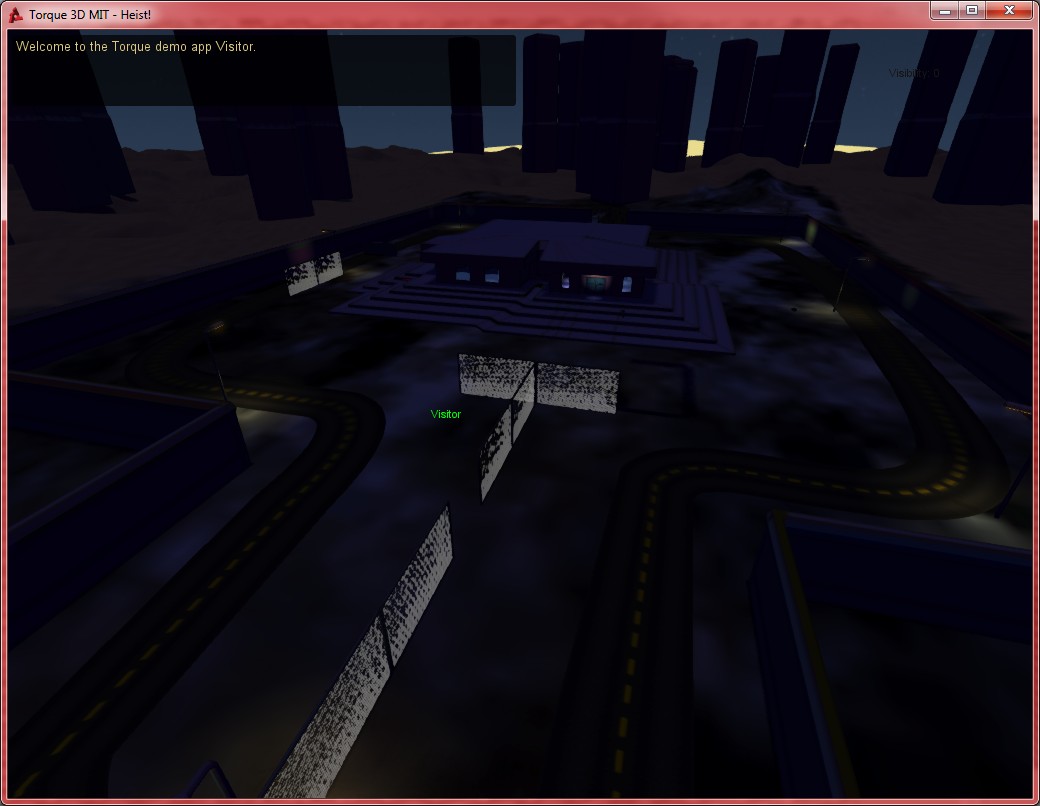
I also did some work on the level design, I think it is slowly starting to look like a game.
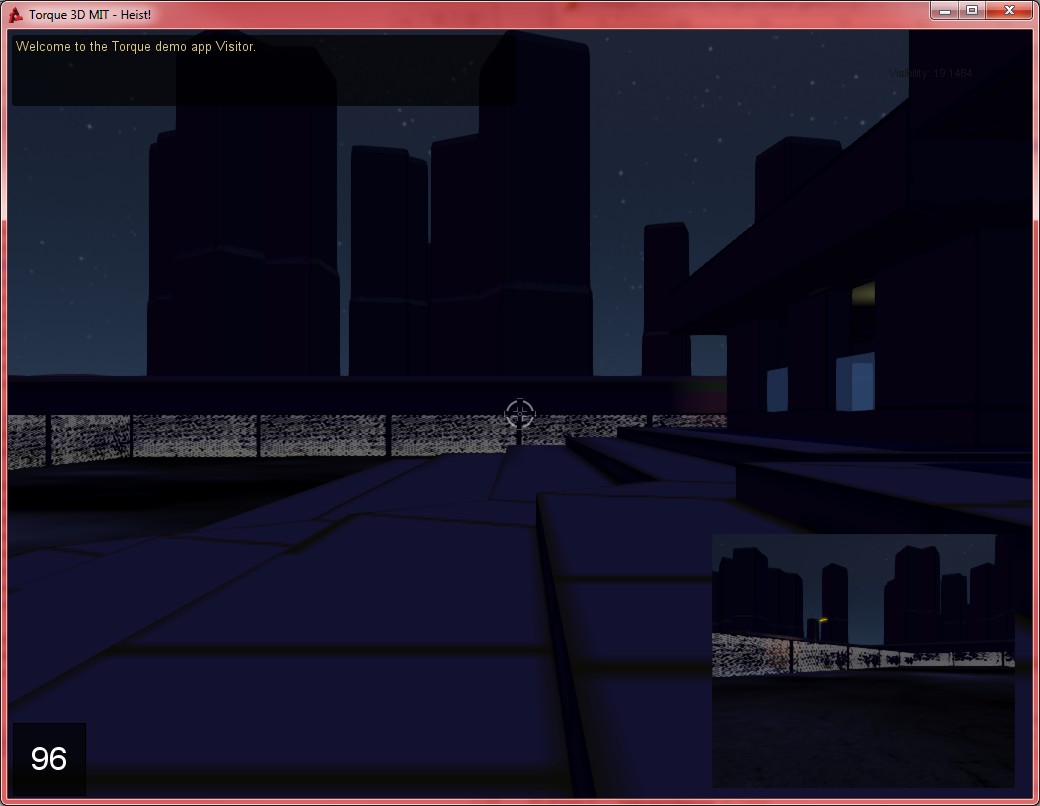
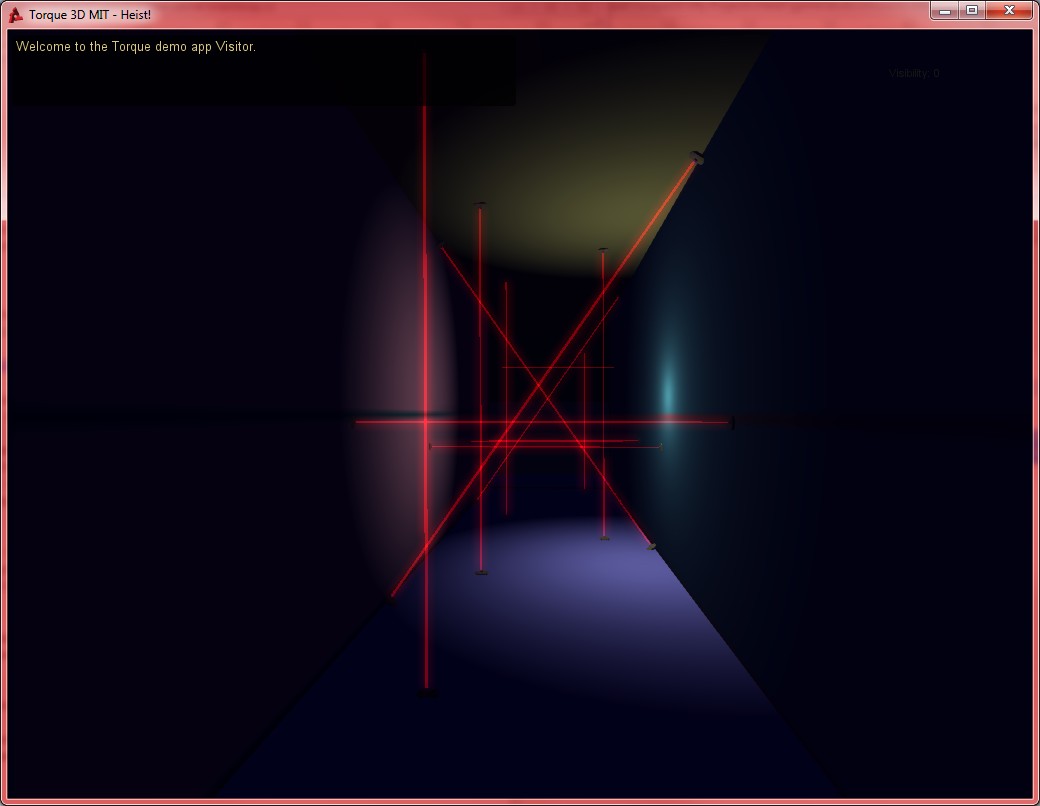
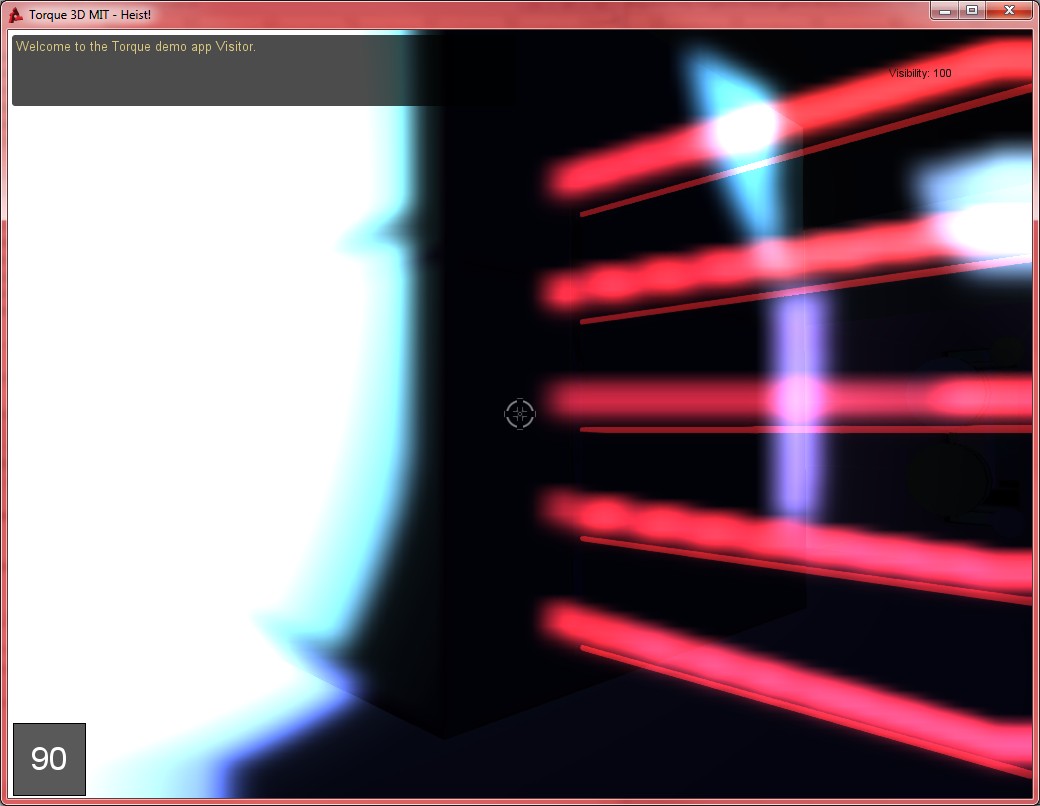
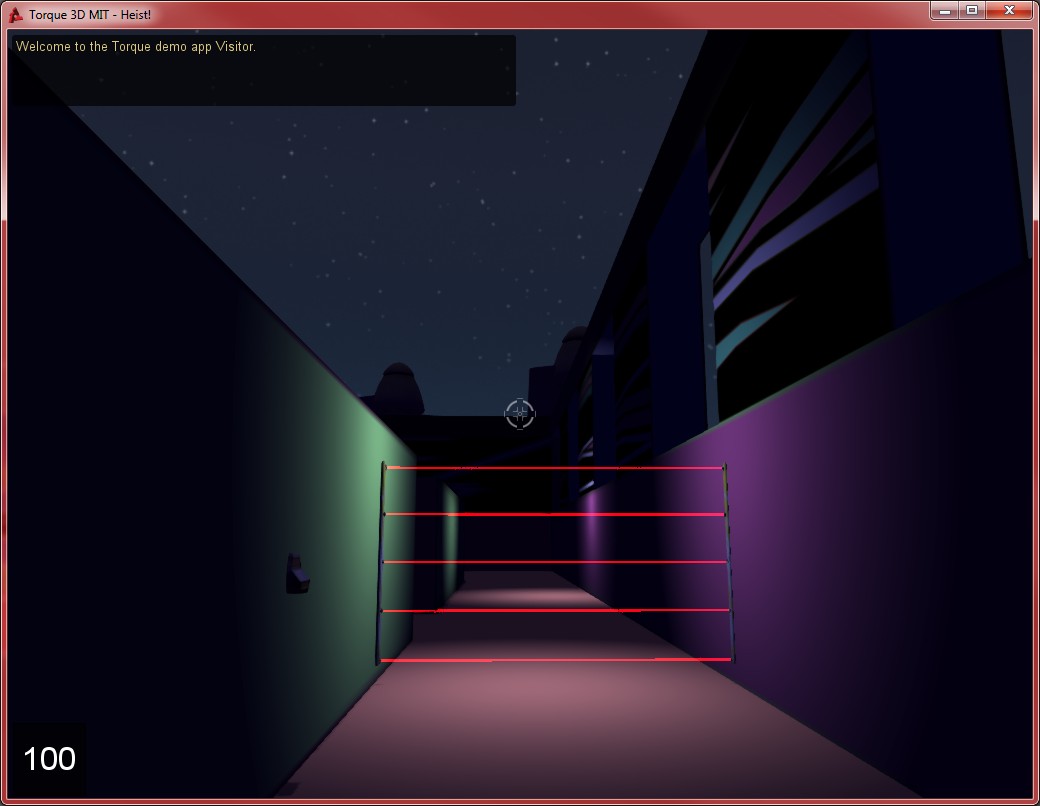
Most of this week was spent on implementing new gameplay features, such as the animated lasers shown in the videos and pictures below. I am quite happy with these, I think they look great. They come in two versions: visible red lasers, and invisible lasers, which can only be seen when using the alternate vsion mode that I developed previously.
The lasers are given a different random on/off sequence every time a mission is played, and the player must figure out this sequence and move only when the laser is off to avoid being detected. This is made especially difficult with the invisible lasers, since they cannot be seen using normal vision.
I have also implemented pressure sensitive floor tiles, which are also invisible in normal vision, and a motion sensor, which will sound the alarm if the player moves faster than a crawling pace anywhere near it.
There seems to be an issue with the triggering system in T3D, the triggers in the game don’t seem to be firing reliably. I have spend some time looking into this issue, and I hope to have it resolved soon. This project will make extensive use of lasers, and it is important that they work correctly.
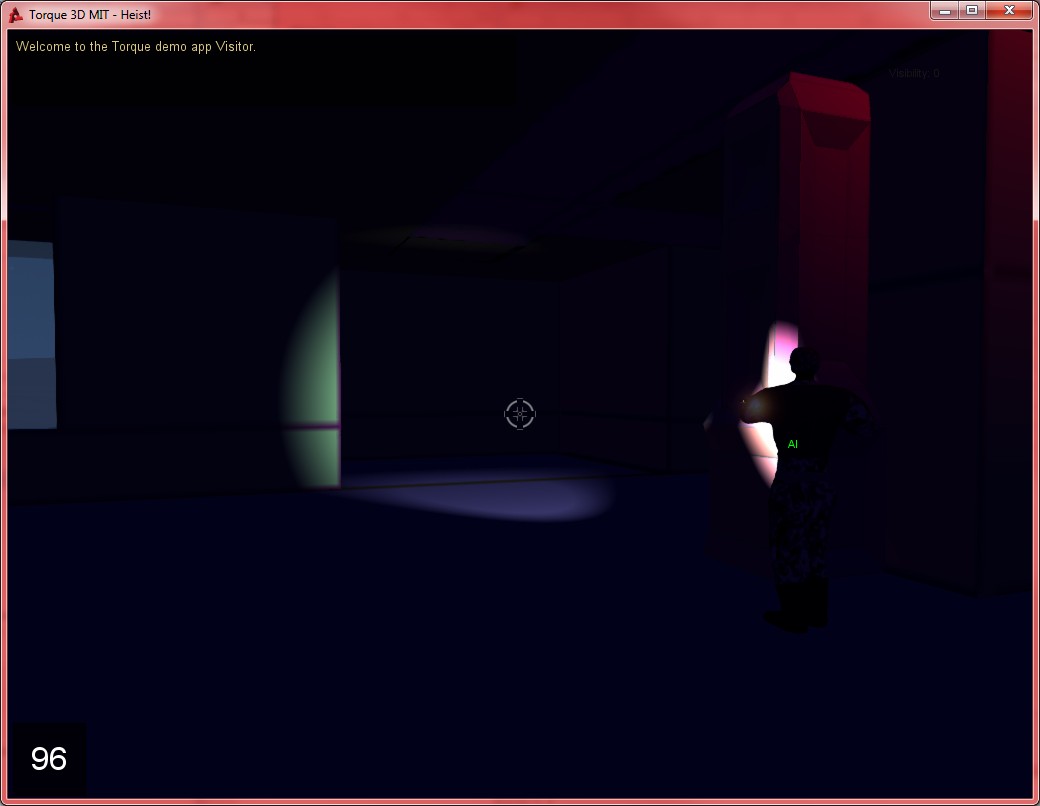
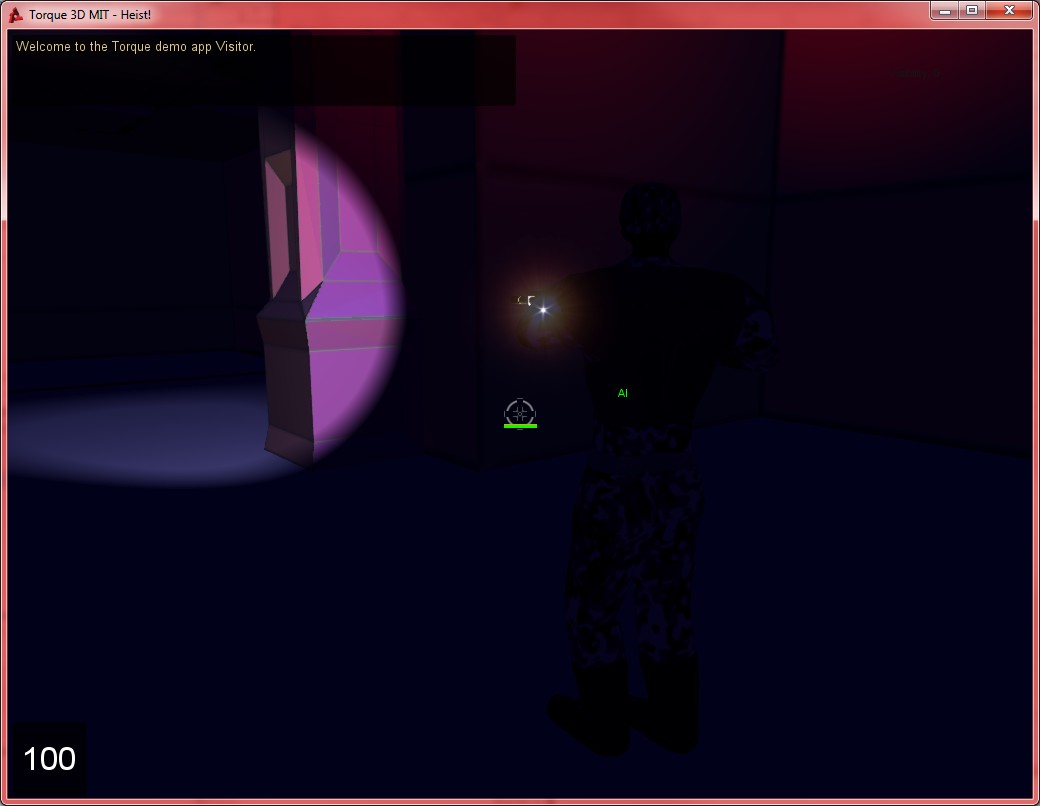
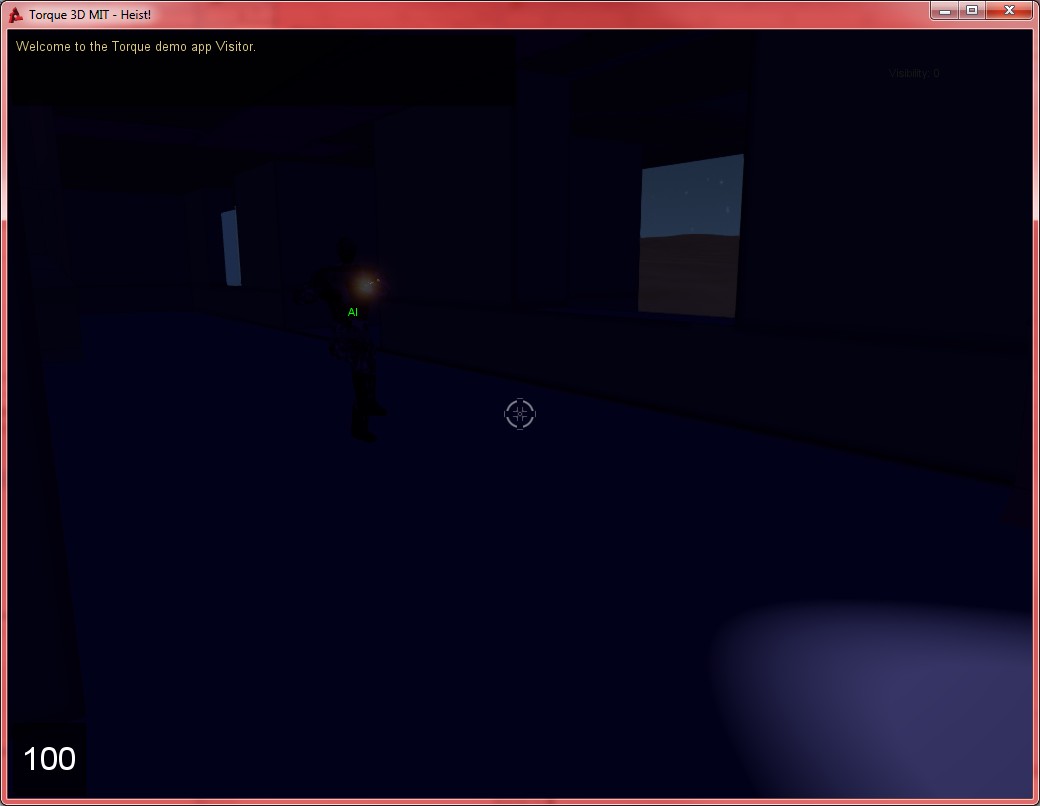
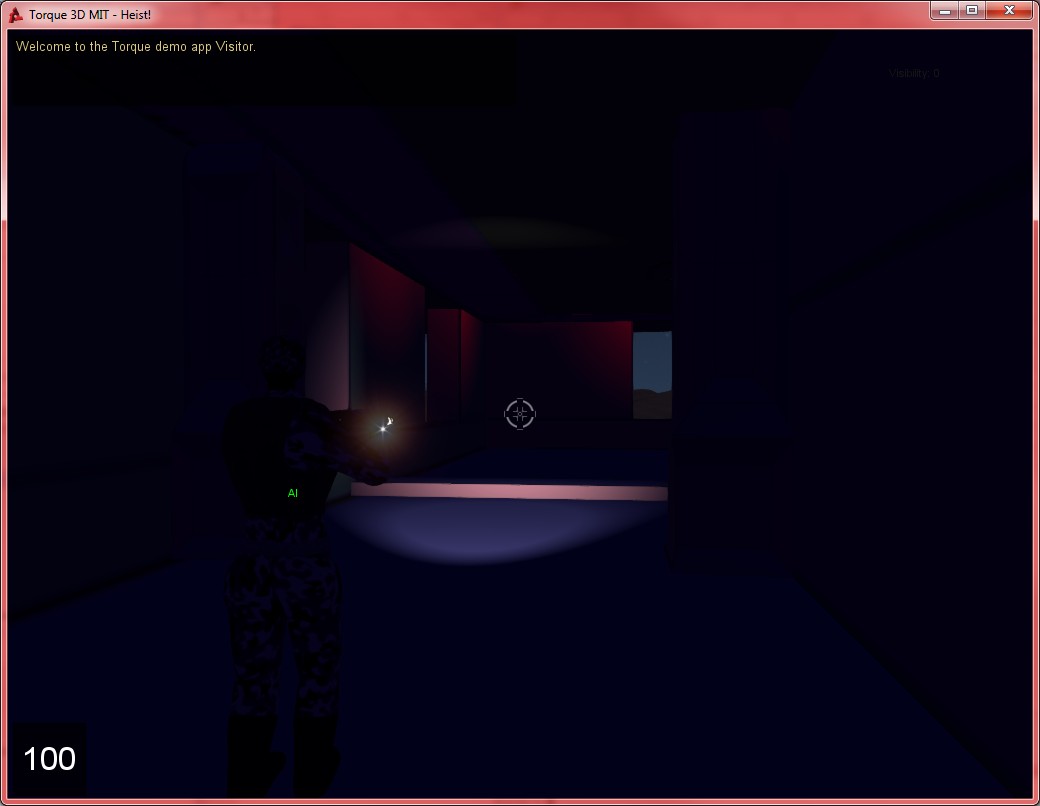
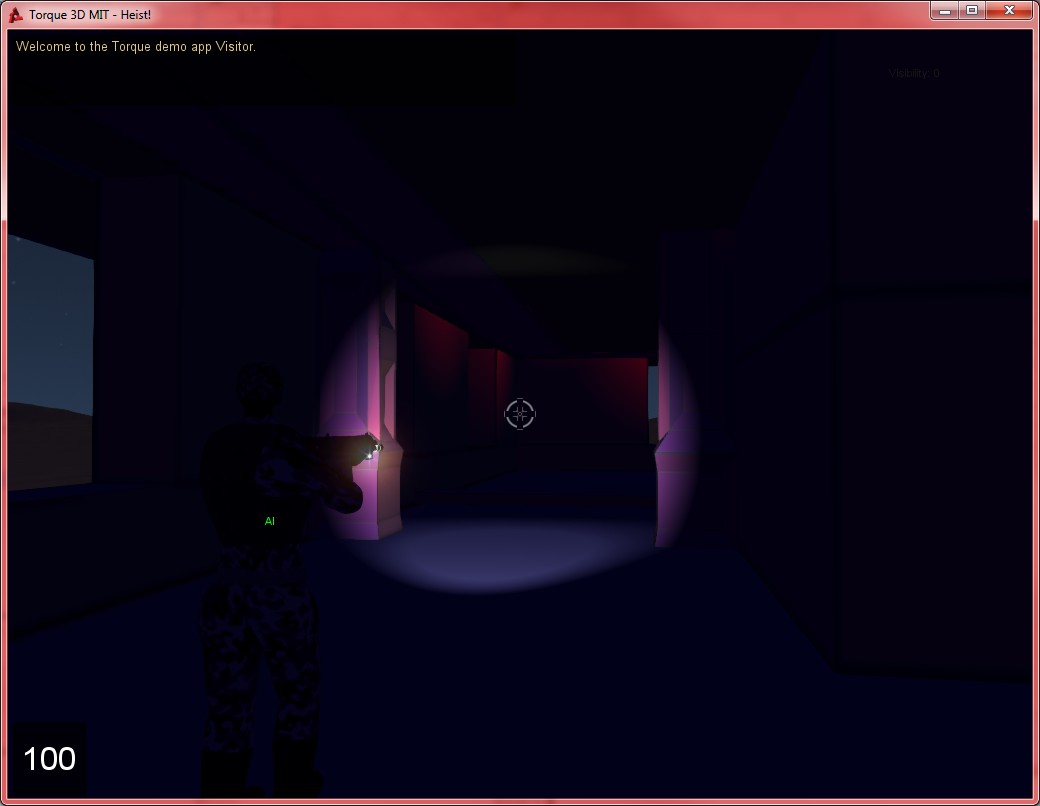
I have complete the vast majority of the Artificial Intelligence for this project. Ai Guards will now follow a predefined path through a level, searching for players with their light. They will also respond to sounds, such as walking or running, in their vicinity. If the guard spots the player, the game ends.
Players are also given a “visibility gem” which will indicate how visible they are at a given moment. Visibility is determined not only by the players proximity to light sources, but also their current speed, and, in future, any noisy activities they are performing, such as drilling or picking locks.
I decided not to have guards follow the player or search for the player after they have been alerted, since I want to encourage the player to plan their movements beforehand, instead of making snap decisions. In order for this to work, the player needs to be able to predict the movement of the AI as much as possible.
I also implemented lock picking. Each locked door will have a randomly generated code. When the player picks the lock, they must move a series of sliders to simulate the action of a lockpick. Once all sliders are in the position which matches the door code, the door opens. I think this is more interesting than a simple timer which slowly runs down as the player picks the lock.
I have posted this feature as a resource on GarageGames. It can be viewed HERE.
This is the text of the tutorial from the resource:
This resource is a very useful addition for highlighting objects using a PostFX shader.
When turned on, the screen will change to black and white, except for designated objects which will appear as bright red.
This could be used for night vision, thermal vision, highlighting objectives or special items in a game, highlighting ammunition or health pickups, etc.
The way this system works is by setting the diffuse color of the objects to be highlighted to pure red, by using this line:
%mat.diffuseColor[0] = “255 0 0 255”;
and then searching for that specific color in the shader by using this line:
if(ret.r > 0.98 && ret.g < 0.09){
When it is found, that pixel is set to red, while the rest are set to black and white. This is essentially a “green screen” type concept. As long as no other object in the game has exactly the same colour that the shader is replacing, this should work well.
A limitation of the system is that the selection of objects is done per material, not per object. Which means that multiple instances of the same object, which share the same material, will either be all highlighted or not highlighted at all. To circumvent this, it is possible to just create two version of the same object, with the same texture, but two different materials. Then, highlight one, but not the other.
Another possible limitation is that when using the “selected = 1” dynamic variable to select multiple objects, objects inside a simgroup will not be highlighted unless there is another object sharing the same material outside the simgroup.
To implement this resource, first download the code file from here: (2KB, .rar file).
Place the shaders “objectshighlightP.hlsl” and “objecthighlightV.hlsl” into:
shaders/common/postFx
Place “ObjectHighlightingPostEffect.cs” into:
“scripts/client/postFX/”
Place “ObjectHighlighting.cs” into:
“scripts/server”
and execute is from “scripts/server/scriptExec.cs” by calling:
exec(“./objecthighlighting.cs”);
Using the effect is simple.
To highlight a single object, call:
enableselection(%obj);
and to switch back to regular vision call:
disableselection(%obj);
A more useful way to use this would be to add a dynamic variable called “selected” with a value of “1” to a group of objects in your scene. This can be done using the mission editor, or by calling: “%obj.selected = 1;” Bearing in mind, as mentioned before, that highlighting is done per-material, not per object.
I have completed the object hightlighting feature, and I am extremely pleased with it.
I have created a black and white shader which shows specified objects highlighted in bright red. This will be used to highlight security systems such as alarms, cameras, etc to the player. This could be used to detect hidden traps, like pressure sensitive panels (such as in picture one, below) invisible lasers, triggers, switches, etc.
This system looks excellent, and can be quickly and easily switched on and off at the press of a button. It actually reminds me just a little of “Runner Vision” from EA’s Mirrors Edge. It would also be very possible to modify this to add other colours to highlight different objects.
The only limitation of the system is that the selection of objects is done per material, not per object. So if I have created multiple instances of an object called “Alarm” for example, and they all share the same material, I can either highlight all of them in red, or none of them. To circumvent this, I have simply created two objects, “AlarmHighlighted” and “Alarm”. These use different materials with identical textures.
I am in the process of creating a resource for this for the GarageGames community, which I will post shortly.
One of the features of this project will be an alternate vision system, similiar to, for example, thermal vision or night vision. It will be possible for the player to select certain types of objects and have them show up brightly in a particular colour. For example, Security cameras could show up as blue, guards could show up in red, etc. This will make it much easier to spot the security systems being used in a level. It could also be possible to detect things that are not visible with regular vision modes, such as invisible lasers, ultrasonic sensors, pressure-sensitive floor panels, etc.
To accomplish this very-useful feature I intend to use a full-screen shader (called a PostFX in T3d) to convert the screen to grayscale. This should make the selected object more pronounced. The selection itself will be more difficult, since all object information is lost before reaching the shader level of the graphics pipeline (I have access to an array of pixels and colour values, I have no way of knowing which object each pixel belongs to).
I intend to use the same concept that would be used in a green-screen on a movie set. To highlight an object, I change it’s material to one which is consists of a single RGBA value, say, pure red (255,0,0). In the shader, I can then search for this value with an if statement (If col.r >250 && col.g < 5 and col.b <5) and then colourise that object only. This is a little bit of a hack, but it should work.
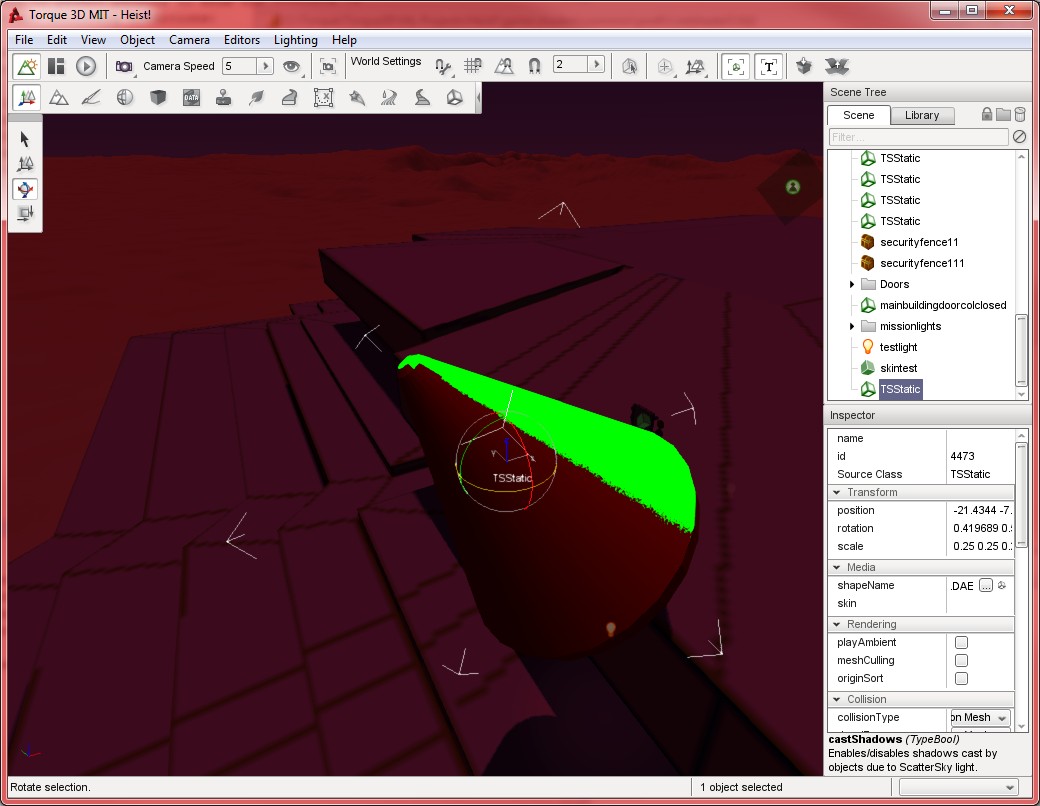
The PostFX shader is done, I have found that T3D has an excellent system in place for this. I was, however having an issue with the scene lighting changing the colour of the texture. This is shown in the image below. Parts of the model facing the sun were showing up in the selection colour, and were being selected by the shader (which is why they show in green) but the shaded parts of the model are darker, which means the RGB values are not the same as the (255,0,0) value specified in the texture, so they weren’t being selected.
Thanks to a comment on the garagegames forums however, I remembered that enabling the “emissive” property of a material means that it will ignore scene lighting:
This means that I can isolate and select objects easily using a shader. I now need to do some more work to allow this to work in the game. I need to find some way of reliably changing the objects material, and I may need to shade the selected object to give it a more well-defined appearance, as opposed to a simple flat texture.
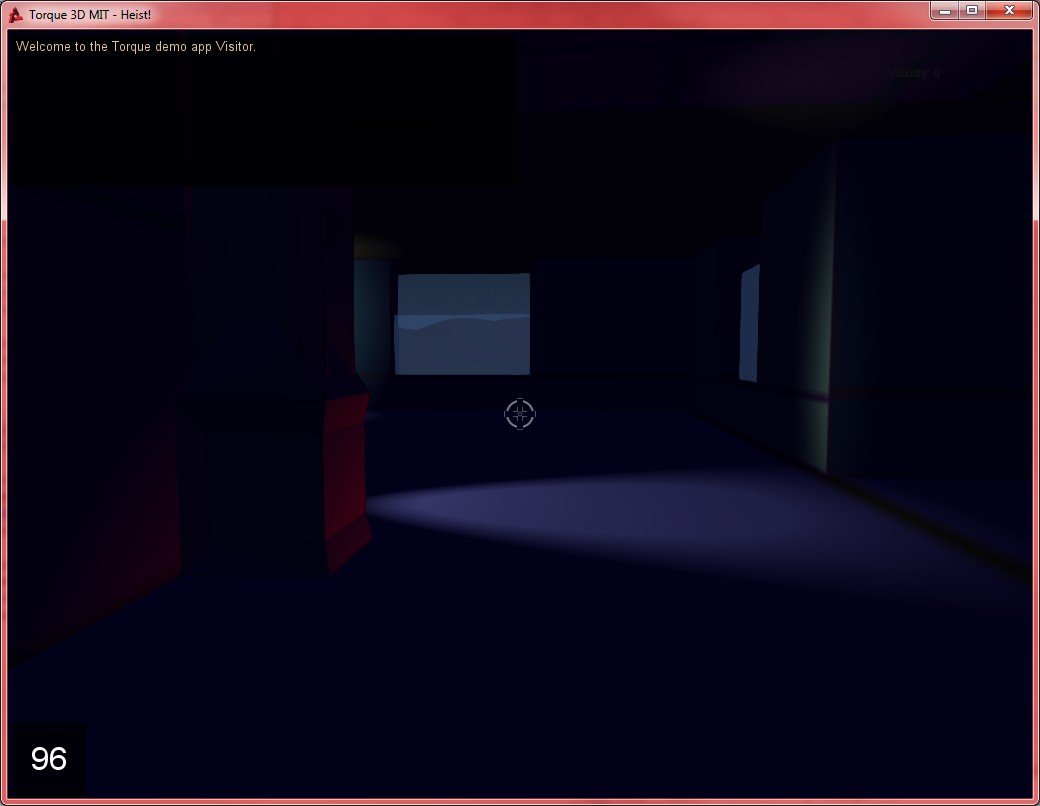
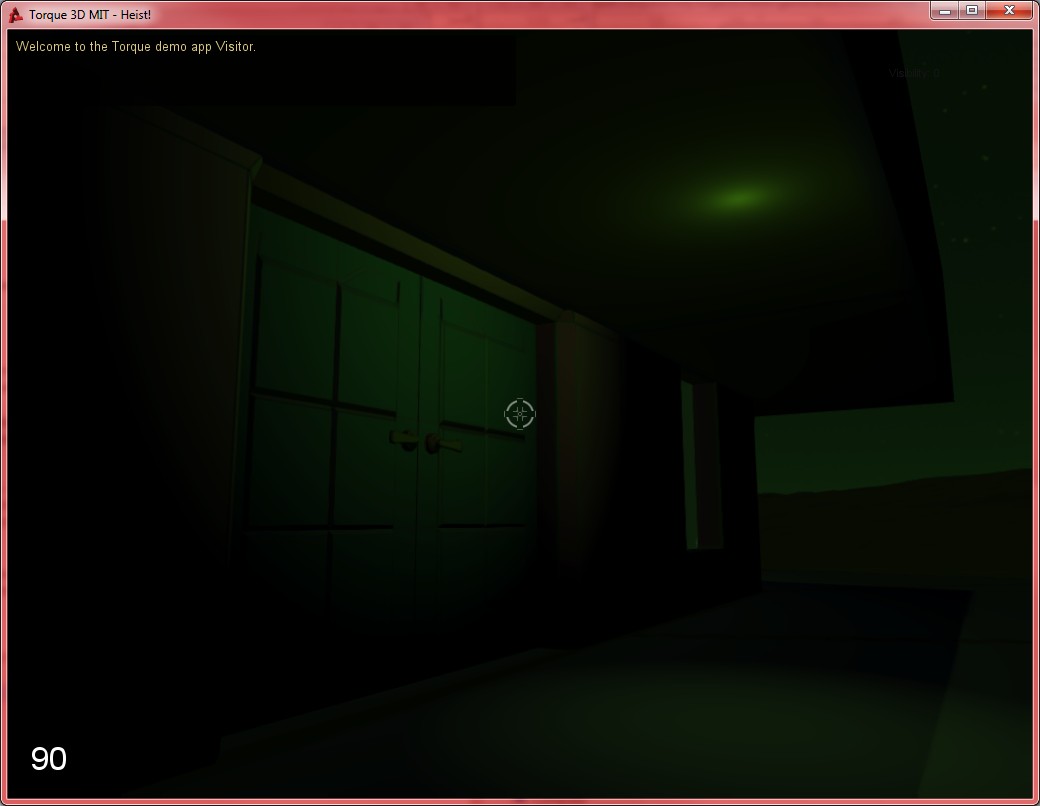
Some pictures of the other shader experiments follow.
I have been working quite hard on the concept demo of my latest game project. I have completed the basic level design, as well as impleemented many of the games core features, including alarm systems, tools, breakable glass, and doors.
The player is able to use a variety of tools to gain information about the information about the world, such as basic and advanced multimeters. The basic multimeter only tells the player if a cable or device is live or dead, which allows them to determine if it is safe to cut or bypass. The advanced multimeter includes a detailed oscilloscope screen, which allows the player to see the exact state of the data lines going into the device.
Some simpler alarm systems can simply be cut with the wire cutters to disable the alarm, however, advanced models have a “heartbeat” feature which sends a coded message to the alarm from a junction box. If this heart beat is not returned, the alarm will go off. The basic multimeter will not show this heartbeat, but the advanced one will, and it is possible to use the information from the multimeter to bypass the junction box and disable the alarm.
I have also included the obligatory air vents for the player to crawl through, every stealth based game must have these!